
Sharper Images - A Quick How-To | Baton Rouge Family Photographer
Alright, sharper images. How to get those crisp clean snaps. Let me tell you, many people think it is all in the kind of camera you have, that really isn't the case in most instances. Which is good, because if that were the case I'd be telling you to go by thousands of dollars worth of equipment and this post would be done.
That's not the case though, so I compiled some of my favorite tips on the topic. These are pretty universal regardless of what kind of DSLR camera you have.
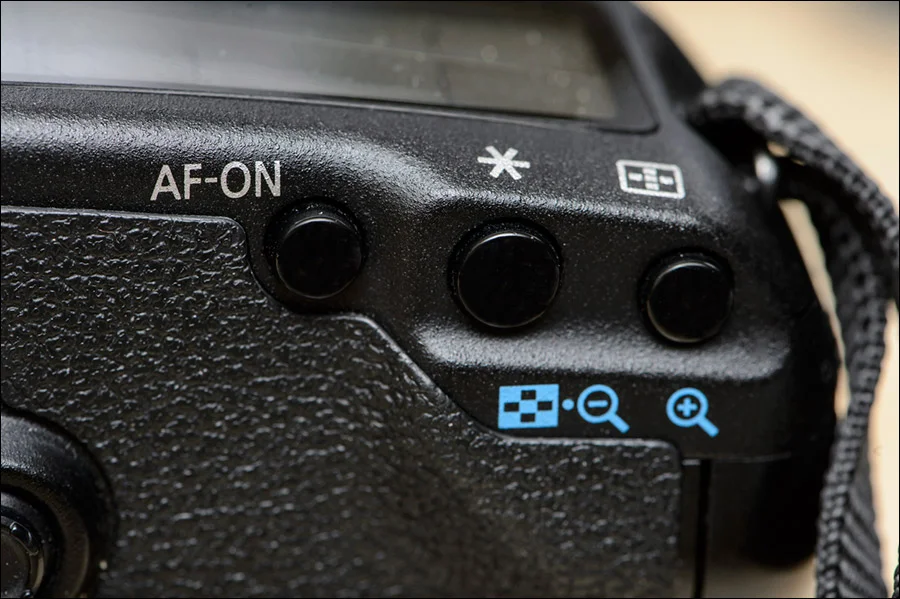
No. 1 - Manually select focal points. Now, I'm not telling you to manually focus your lenses. Your camera will still automatically focus, you are just selecting what it focuses on. So, make sure your lens and camera are still on AF or Auto Focus. I typically set my focal point on the eyes of someone in the middle. If you don't know how to achieve this option in your camera grab your manual. My camera, which is a Canon, has a button that looks like a square with a bunch of dots in it, which allows me to toggle to the point I want.
No. 2 - Choose a wide enough aperture, based on the distance of what you want in focus. This is the f-stop number and the lower the number the wider the aperture. It's a bit confusing, I know. A wider aperture (lower f-stop no.) = smaller depth of focus, lower aperture (higher f-stop no.) = more depth of focus. Wider for larger groups or if you are photographing nature, lower if you are doing portraits and want a bokeh, that’s fancy photo talk for a blurred background.
So I will use a f/1.8 for a close up of a kid, but maybe a f/5 if it's a small family. I'd go up to a f/32 if it was a big outdoor nature shot where I wanted a lot of detail.
Here's a great visual of aperture:

I borrowed this image from a great article on PetaPixel.
No. 3 - Ensure your shutter speed is fast enough. 1/250 for kids is a good rule of thumb. A friend told me that, and I never forgot it. If you go slower than that you could get blurred images.
So if you are photographing a soccer game, crank it up. It means you will have to increase your ISO, but that’s okay, a little grain is much better than a blurred kid kicking a goal.
No. 4 - Use a sharpening tool post-shoot. Don’t go crazy here. A little goes a long way. To show you the power of editing, here's an example of an image unsharpened and then sharpened. It is slightly exaggerated, I wouldn't go this intense on the sharpening. However, you can see the power of editing tools, and there are some great ones. I use Lightroom and Photoshop, but there are even some free ones you can grab.

No. 5 - For those who are a little more familiar with their cameras, try using back button focus. This is where you adjust your camera's settings so that you don't half press your shutter to get your image in focus. Instead, you use a separate button on the back of your camera. Hence back button focus. Why? BBF gives you more control. It takes a bit getting used to, but once you do you may never go back!
Well, there you have it. My suggestions on how to get crisp clean images. It starts in camera and moves to editing. Put it to practice!!
I'll try and dig into editing a bit more in a post in the future. How to sharpen can be a bit tricky.
Want to see more tips like this, make sure you join my facebook page, it's where I post all the fun stuff!
You can check more tips out here! Want fun stuff delivered to your inbox, join my VIP List!


